Note: Experimental and work in progress.
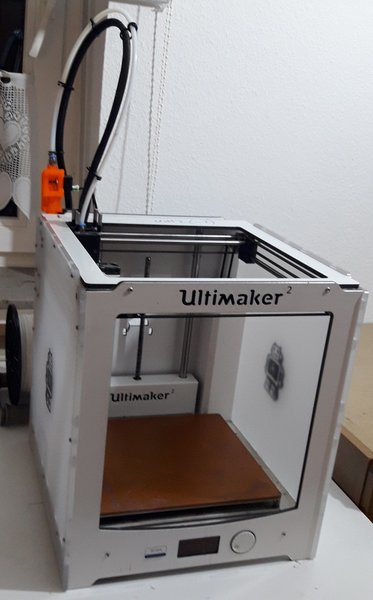
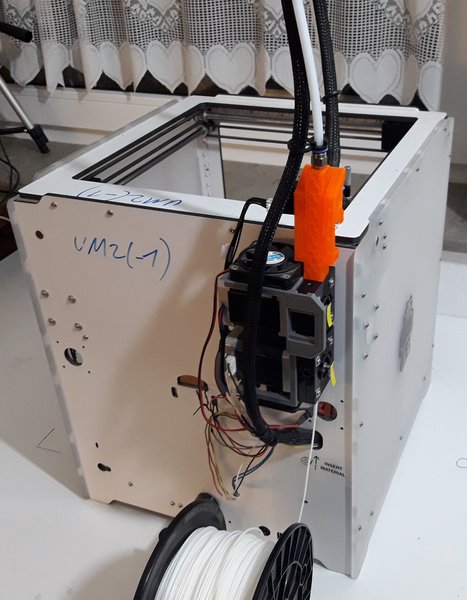
Theese are my UM2 modifications to make it a usable, reliable and faster printer.
Inhalt
Custom Firmware - closed loop extruder
DDPrint FDM firmware: github.com/ErwinRieger/ddprint.
Improve your FDM printer with a closed loop E-Axis: http://www.ibrieger.de/close_the_loop_for_e.html.
Hotend
Olsson Block, to be able to switch nozzles.
Stronger heater (40W or even 50W) to speed up heating. Especially necessary for the auto temp function of the ddprint firmware. Different parts of the printed models require different flowrates and this yields to variing temperatures througout the prints. To adapt faster to such temperature steps a stronger heater is required.
Mainboard Cooling Fan
To keep the UM2 electronics cool, a small FAN is added to the mainboard case at the bottom of the printer. Because the UM2 stepper drivers have no heat sinks and all steppers motors will run with 1.5A current.
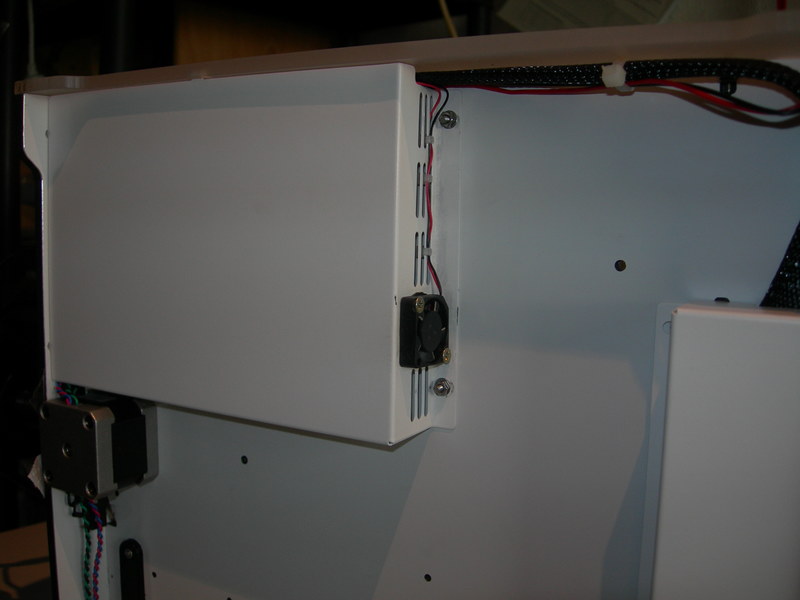
| Todo: | Show connection to mainboard. |
|---|
1.75mm Filament Conversion
The printer was converted to use 1.75mm filament.
A inner 2/3mm teflon tube is glued into the 4/6mm outer teflon tube. I still use the 3mm teflon coupler on the hotend side, the small tube goes right through it:


The feeder is still the original UM2 feeder. I had to cut away some plastic to give the lever more room so it can swing further to the cnurled wheel.
The protrusion of the smaller teflon tube at the upper end of the feeder and the small teflon tube on the lower side of the feeder should give better support for the filament.
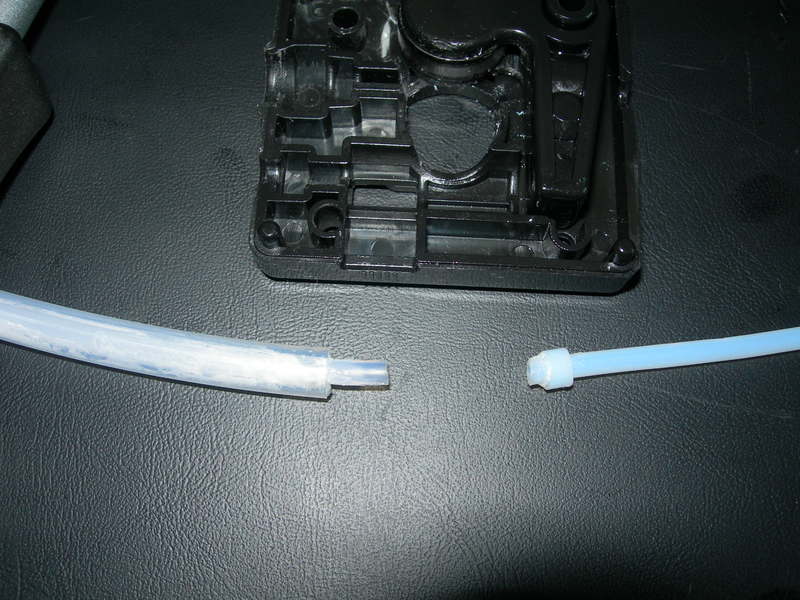
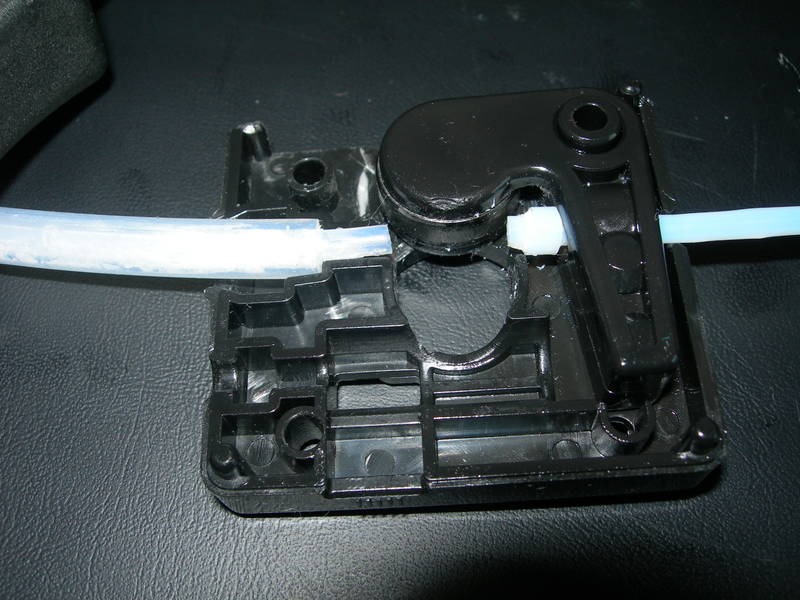
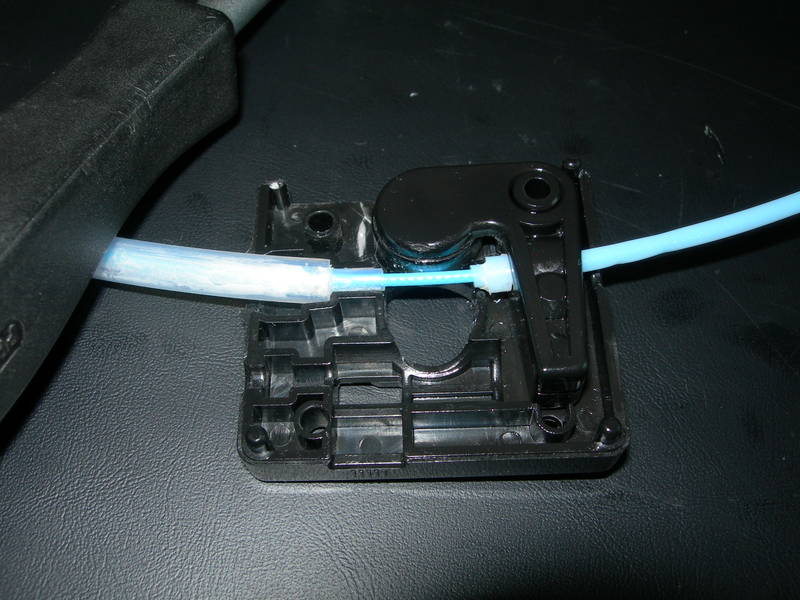
Note that i still use the 3mm version of the olsson block and also the 3mm nozzles.
Dual feeder and flowrate sensor
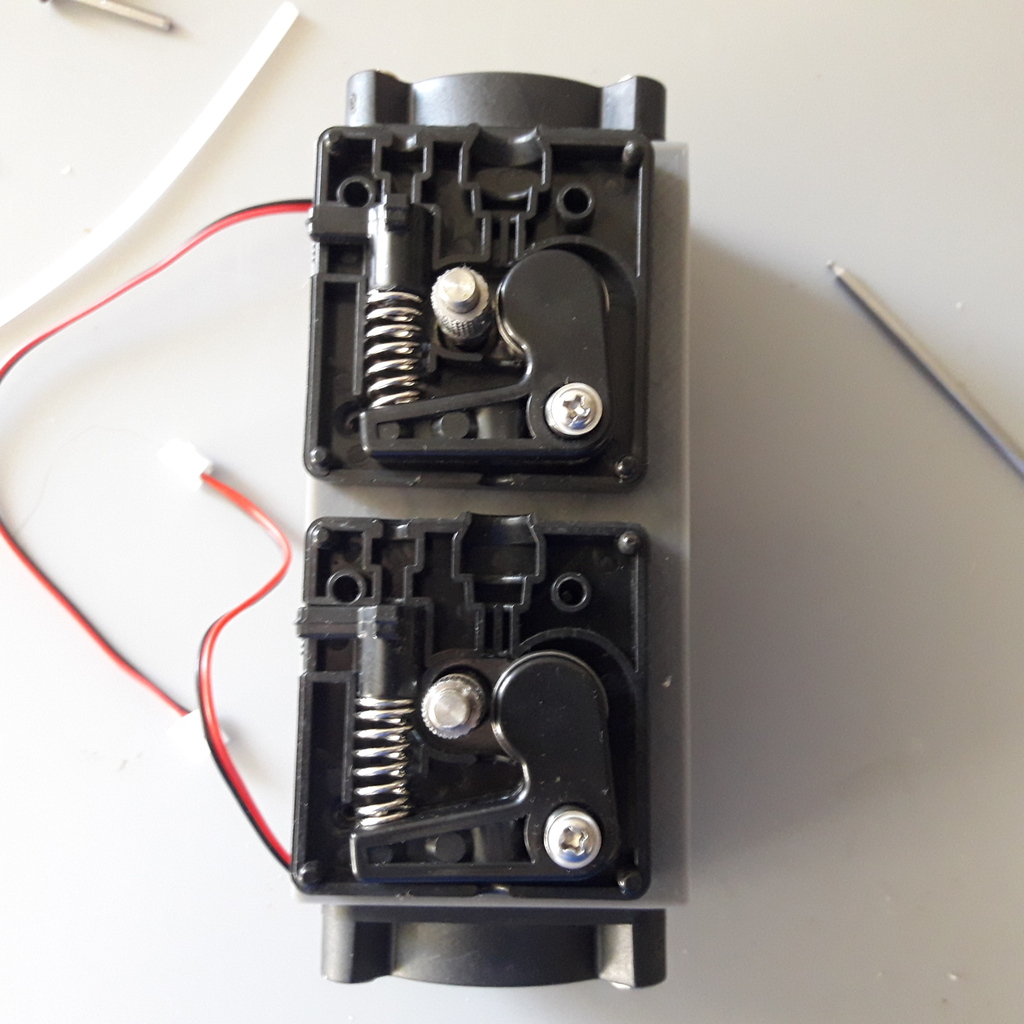
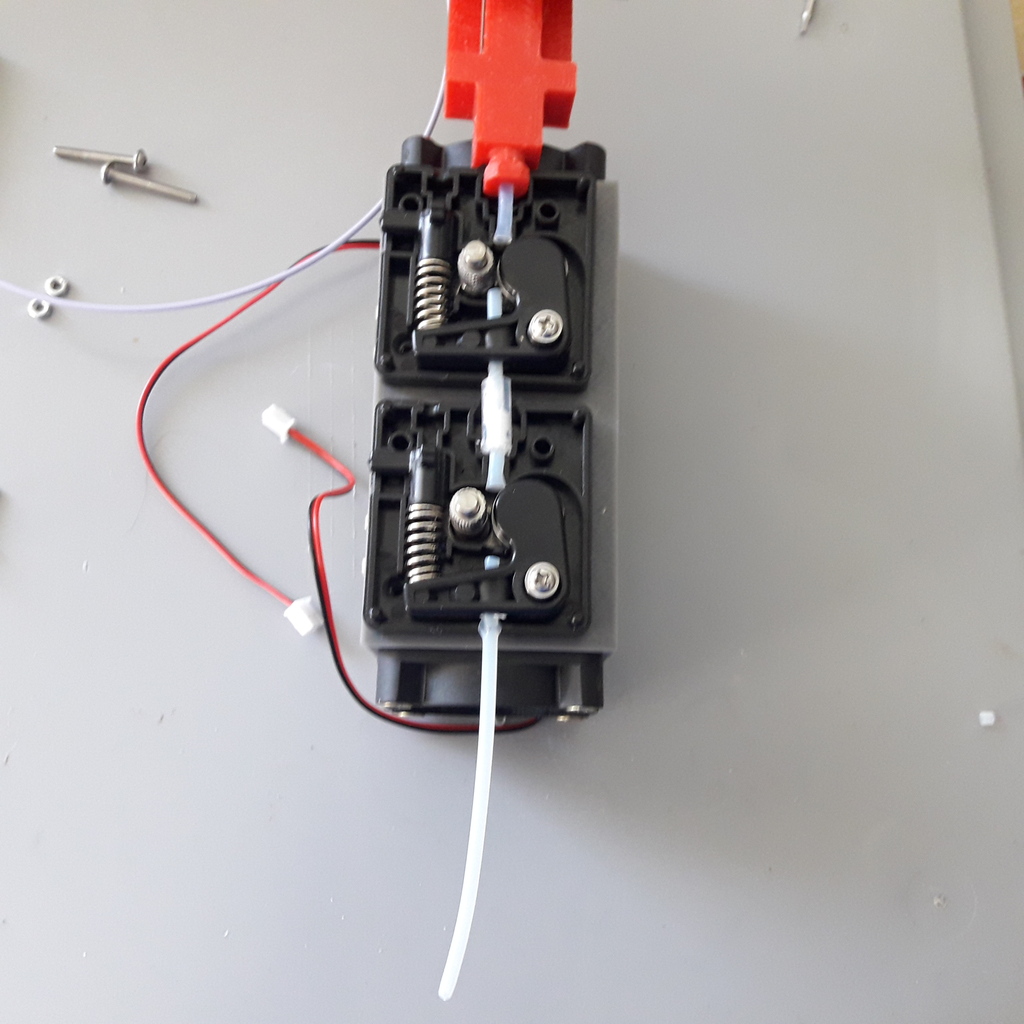
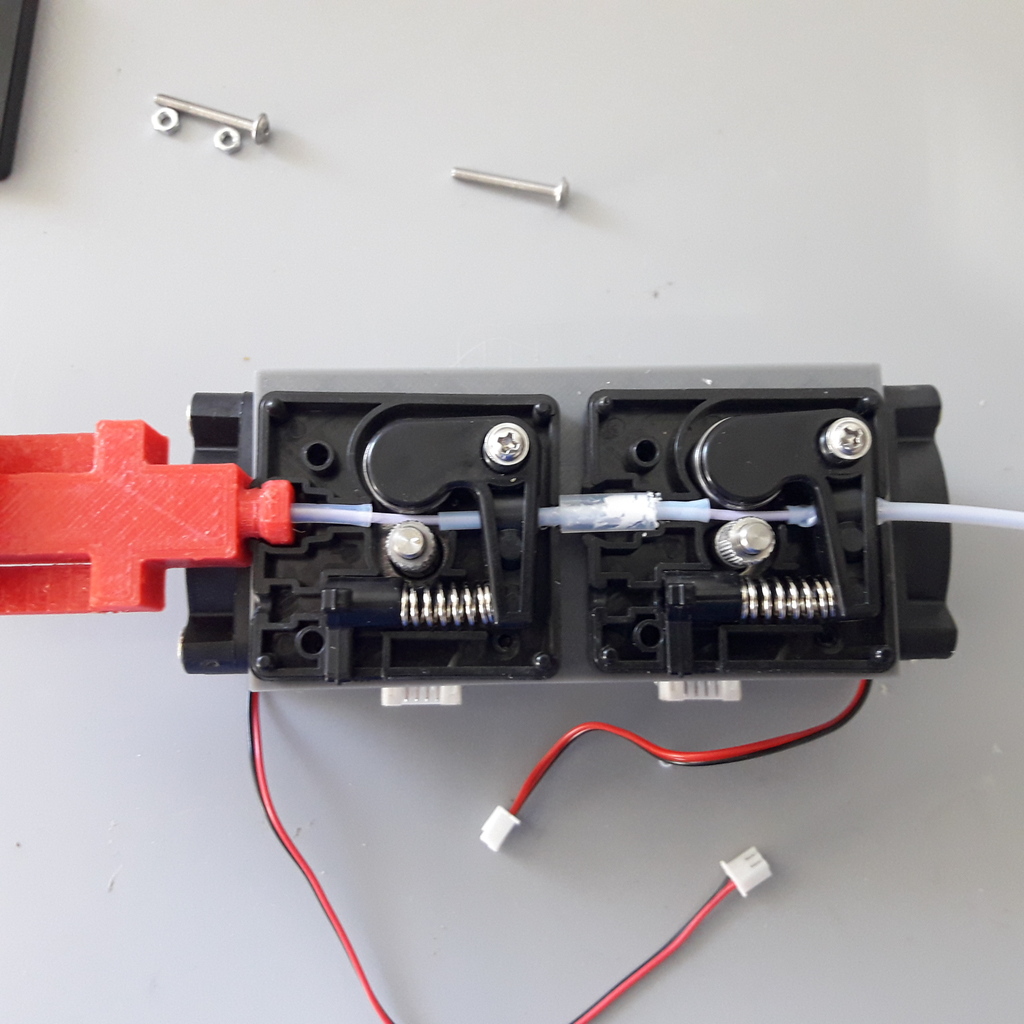
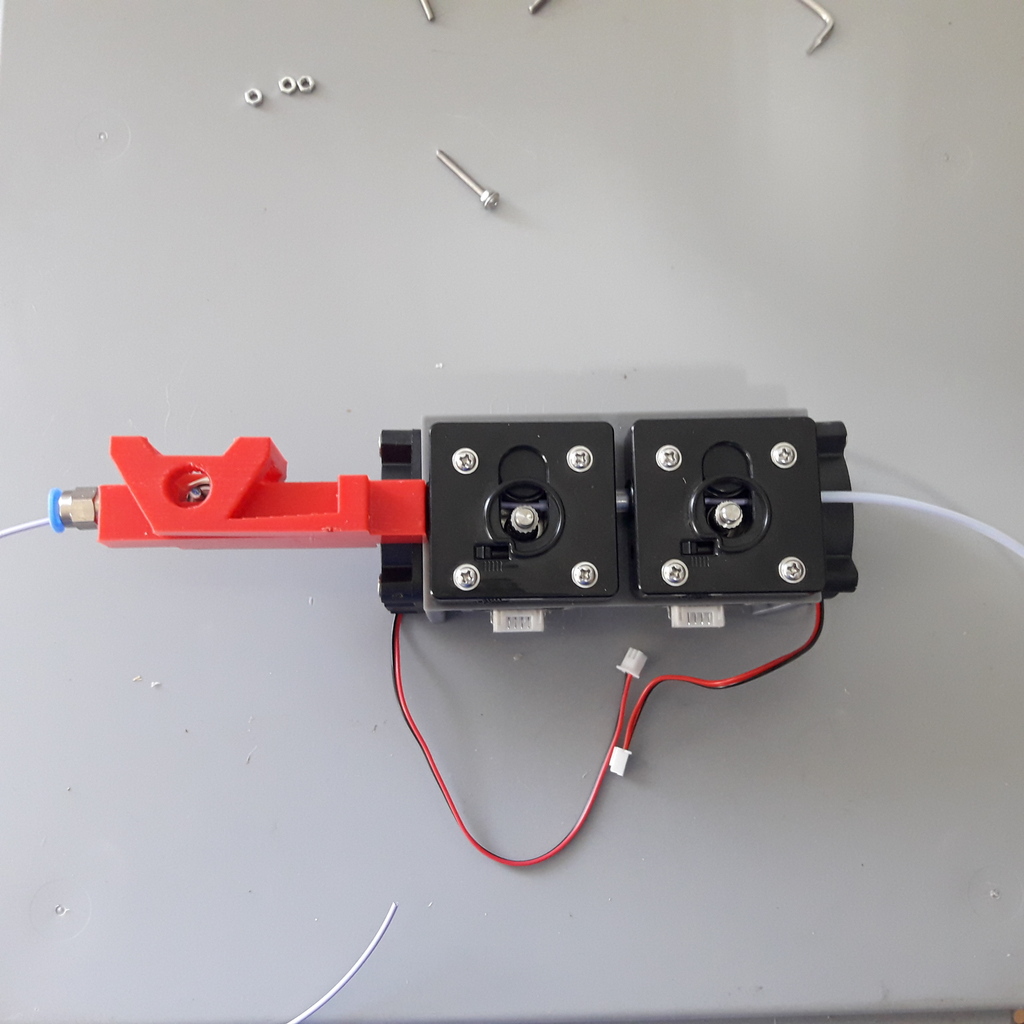
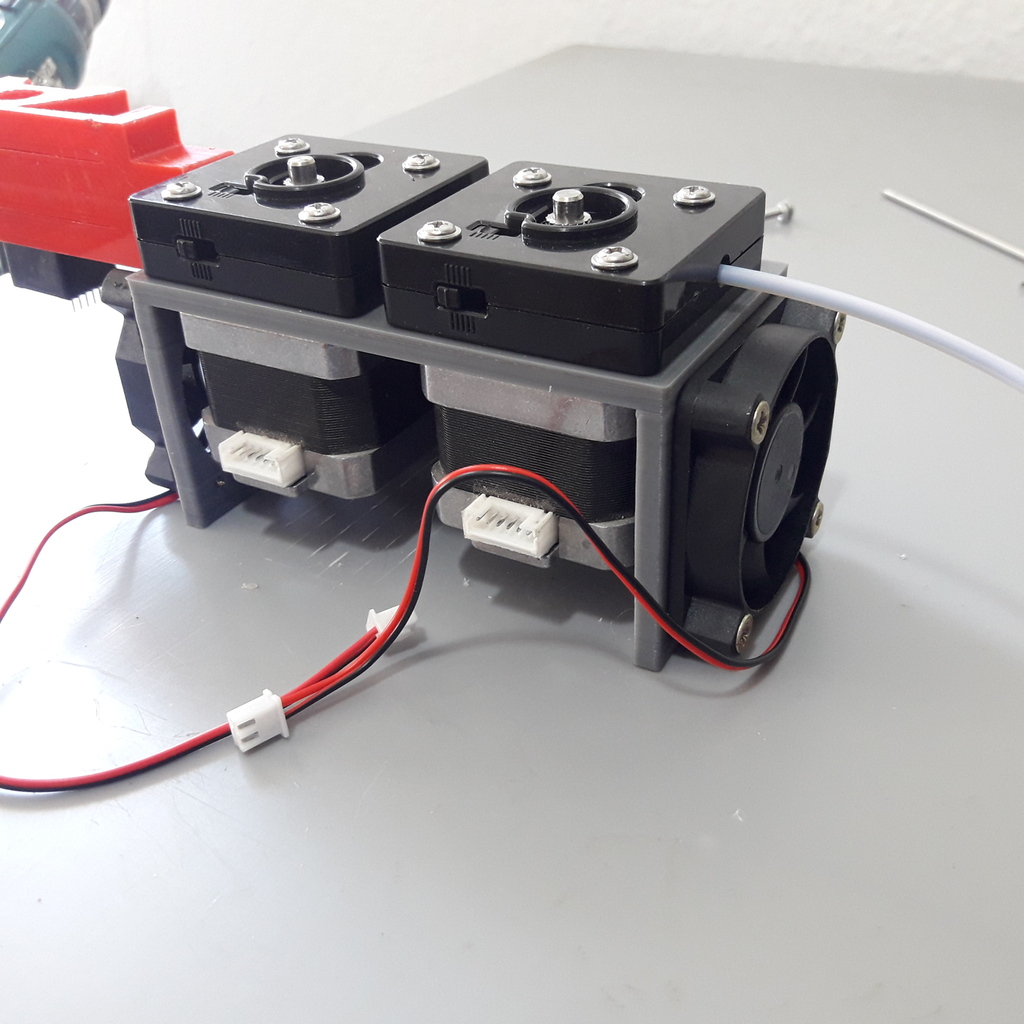
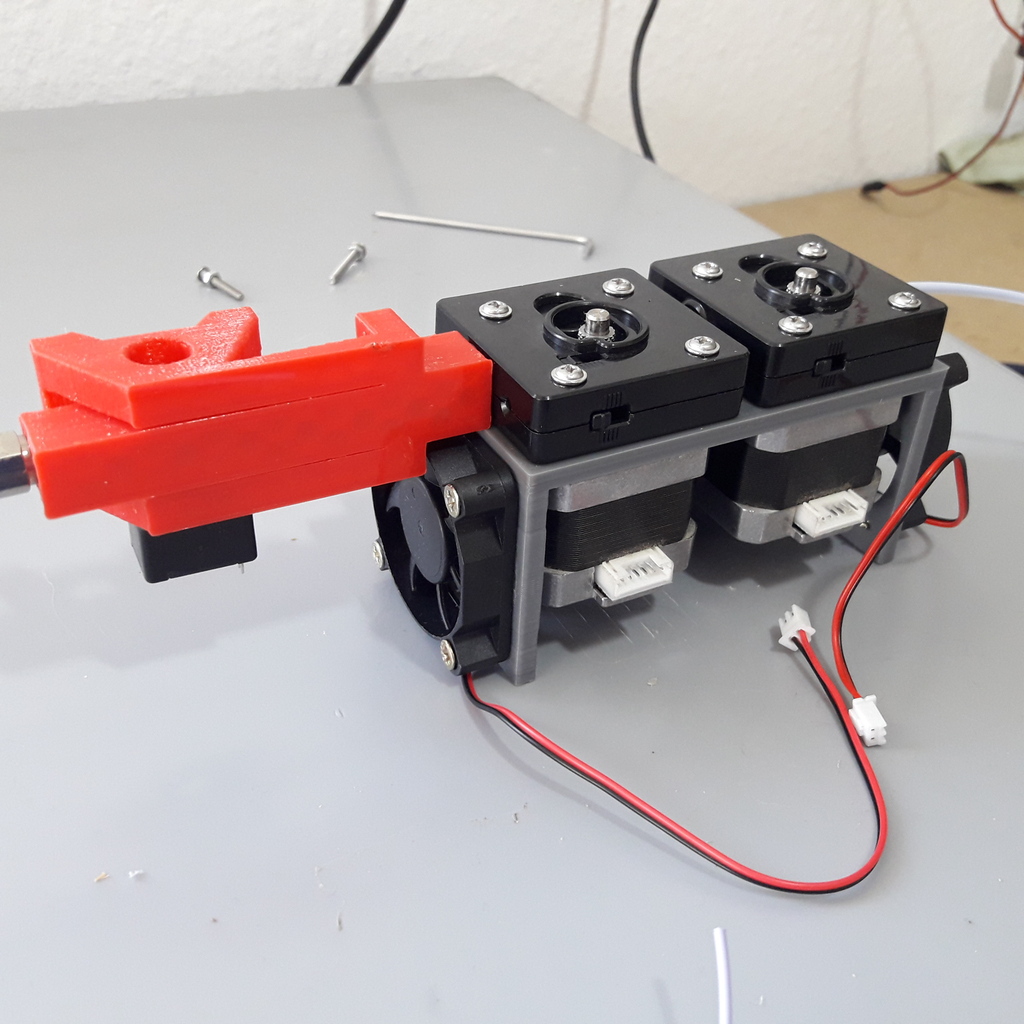
To increase grip and for better control of the filament, two UM2 feeders are installed in series (poorman's bondtec).
For closed loop extrusion, automatic filament profile measurement and other things a flowrate sensor (FRS) ist installed, too:

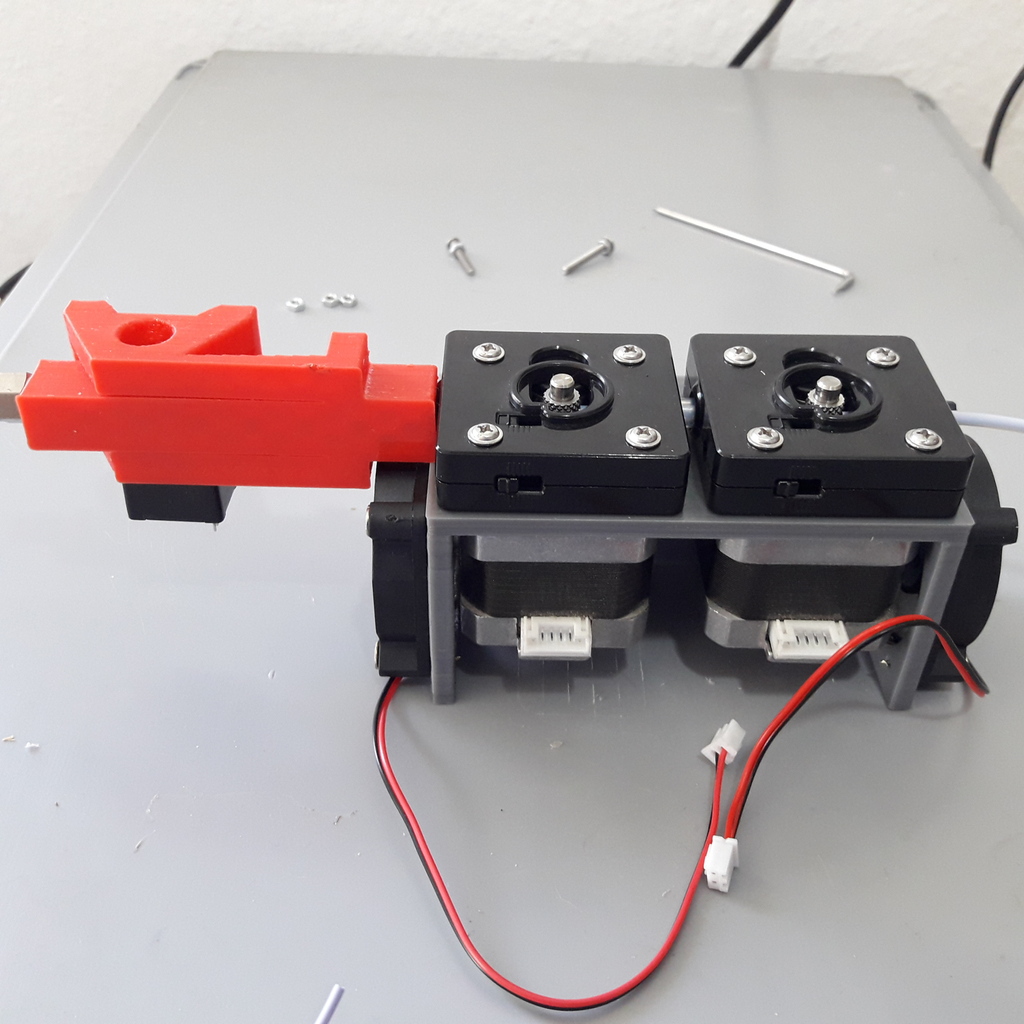
The feeder motor coils are connected in series (Todo: show wiring diagram).
Two fans keep the motors and especially the knurled wheels cool. They are connected in parallel to the 5V supply voltage. Note that 12V fans are used, so they run slow and silent (and will last forever, hopefully).
The feeders are assembled without the tension set-screw. This is done to always get the same tension because some measurements done later depend on this feeder tension/grip. Like the automatic filament profile measurement (Todo: add link), for example.
| Todo: | Show fan connection to mainboard. |
|---|
The 3dmodels for feeder holder and flowrate sensor could be found here: https://github.com/ErwinRieger/ddprint/tree/master/stl.
Video to see the FRS in action: https://youtu.be/ESc9FN7LjSw.
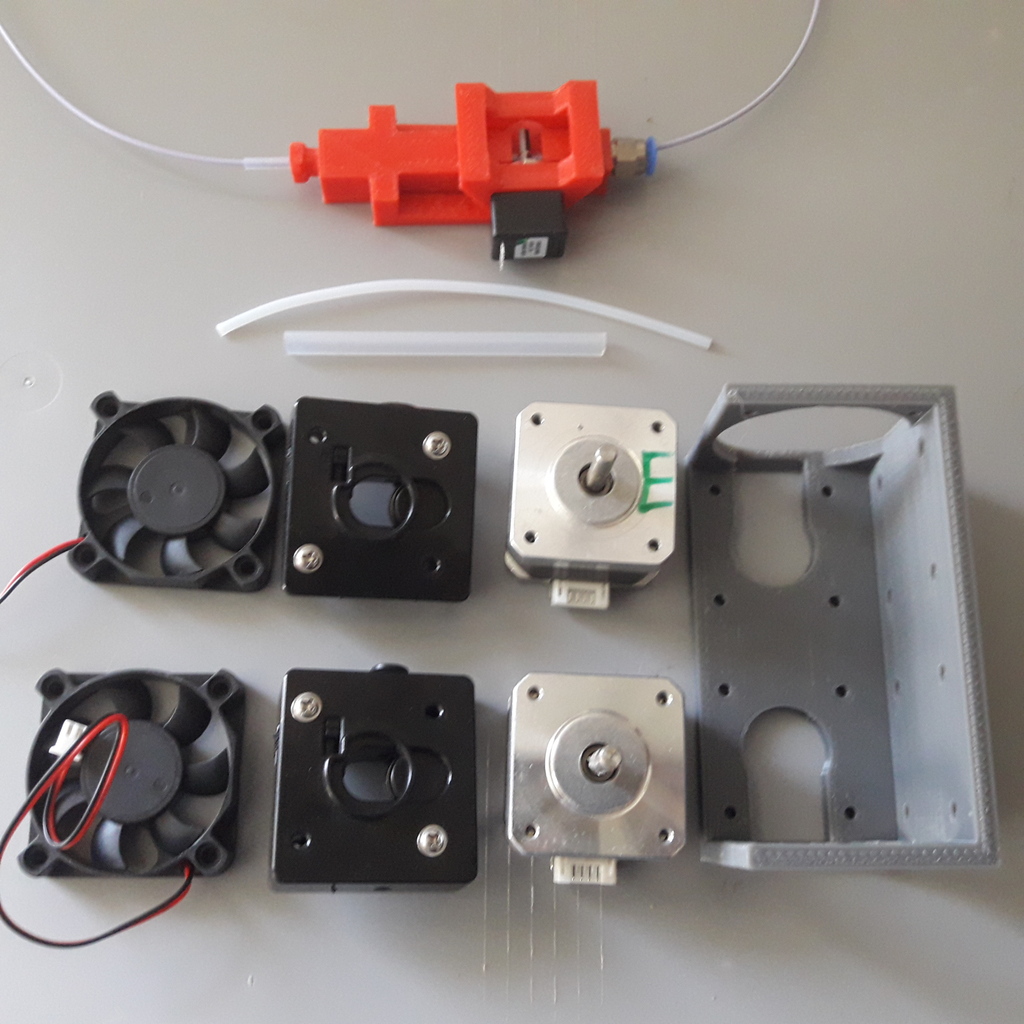
Some pictures of the used parts and the build process of the dual feeder/flowrate sensor combination:


Older flowrate sensor designs.
This page lists some previous iterations of the feeder and flowrate sensor: http://www.ibrieger.de/previous-frs-designs.html.